How to Connect Royal Mail to Your Ecommerce Store and Automate Fulfilment
A step-by-step guide to Royal Mail integration for UK ecommerce sellers — covering Click & Drop, OBA setup, label formats, tracking, and full automation.
Royal Mail Integration is the single most impactful step a UK ecommerce seller can take to reduce the time spent on daily fulfilment. Instead of copying and pasting addresses, printing labels one at a time, and manually booking collections, a properly connected Royal Mail setup handles all of it automatically — triggered by the moment an order arrives.
This guide covers exactly how to build that setup: from creating your Online Business Account through to fully automated label generation and tracking.
 A properly integrated Royal Mail setup means labels are printed and manifested automatically — zero manual data entry per shipment.
What Royal Mail Integration Actually Means
"Integration" is used loosely in ecommerce, so it is worth being precise. A Royal Mail integration is a live, bidirectional connection between your order management system and Royal Mail's despatch infrastructure.
At minimum, it should do four things:
- Pull confirmed orders from your sales channels
- Generate a compliant Royal Mail label for each order (with 2D barcode)
- Submit despatch data to Royal Mail so tracking activates without manual input
- Return tracking numbers to your channel so customers receive them automatically
Without all four, you are still doing manual work somewhere in the chain. The goal is zero touches per shipment once the workflow is set up.
Step 1: Open a Royal Mail Online Business Account
The foundation of any Royal Mail integration is an Online Business Account (OBA). This is different from a standard retail account — it gives you access to account-rate postage, volume discounts, Click & Drop, and the Royal Mail API.
To apply:
- Go to royalmail.com/business and select "Open a Business Account"
- You will need a VAT number (if registered), estimated weekly parcel volume, and a billing address
- Approval typically takes 2–5 working days
- Once approved, you receive an OBA number — keep this safe, it is your API identifier
Royal Mail offers different account tiers based on volume. If you are sending fewer than 20 parcels per day, a standard OBA is sufficient. Above that threshold, you may be offered a dedicated account manager and negotiated rates.
Step 2: Activate Click & Drop and the Royal Mail API
Click & Drop is Royal Mail's free despatch platform. It supports manual order entry, CSV upload, and — critically — an API that external platforms can connect to directly.
To activate API access:
- Log into Click & Drop at clickanddrop.royalmail.com
- Navigate to Settings → Integrations → API
- Generate an API key and note your account ID
- Optionally configure a webhook endpoint — Royal Mail will POST despatch confirmations to this URL when your manifest is submitted
The Click & Drop API uses REST with JSON payloads. Orders are submitted via POST /orders, labels are retrieved as PDFs via GET /orders/{id}/label, and manifests are closed via POST /manifests.
Here is a minimal order creation payload:
{
  "orderReference": "ORD-12345",
  "recipient": {
    "name": "Sarah Thompson",
    "addressLine1": "42 Green Lane",
    "town": "Leeds",
    "postcode": "LS1 3AB",
    "country": "GB"
  },
  "orderDate": "2025-04-08T09:00:00Z",
  "subtotal": 29.99,
  "shippingCostCharged": 0.00,
  "packages": [
    {
      "weightInGrams": 450,
      "packageFormatIdentifier": "parcel"
    }
  ],
  "serviceCode": "TPN"
}
serviceCode controls the Royal Mail service: CRL for Tracked 48, TPN for Tracked 24, STL for Special Delivery. You can find the full list in the Click & Drop API documentation under Service Codes.
Step 3: Map Your Shipping Services
Before connecting your sales channels, define your service mapping — the rules that determine which Royal Mail service gets assigned to each order based on channel, product type, weight, or destination.
A basic mapping table might look like this:
| Condition | Royal Mail Service |
|---|---|
| Weight < 100g, domestic | Large Letter Tracked |
| Weight 100g–2kg, domestic | Tracked 48 (CRL) |
| Weight > 2kg, domestic | Tracked 24 (TPN) |
| International | International Tracked |
| High-value order (> £100) | Special Delivery |
Most platforms let you define these rules once. After that, service selection is automatic based on the order data.
 The complete Royal Mail integration flow — from multi-channel order intake to automated manifest submission and tracking return.
Step 4: Connect Your Sales Channels
With your OBA and Click & Drop API key in place, you can now connect your sales channels. The connection method depends on your platform:
eBay: Royal Mail's Click & Drop has a native eBay integration. In Click & Drop, go to Settings → Sales Channels → eBay and authorise the connection. Orders will sync automatically every 15 minutes. For bulk printing workflows, see our guide to bulk printing shipping labels from eBay.
Shopify: Click & Drop supports Shopify natively via the same Sales Channels menu. Alternatively, platforms like Adlixor pull Shopify orders and submit them to Click & Drop on your behalf with custom service mapping per product or collection.
Amazon: Amazon does not connect directly to Click & Drop. You need a middleware platform or API integration to pull Amazon orders and submit them to Click & Drop. The process involves the Amazon Selling Partner API (SP-API) — see our multichannel ecommerce guide for an overview of how SP-API works.
WooCommerce: Use the Royal Mail Click & Drop WooCommerce plugin (available in the WordPress plugin directory) or connect via your order management platform.
Step 5: Automate the Daily Manifest
The most overlooked part of Royal Mail integration is the manifest. Royal Mail requires a manifest to be submitted before your collection driver arrives — it is the digital record of everything you are handing over that day.
If you submit it manually, you need to remember to do it before your cut-off time (typically between 3pm and 5pm depending on your account). If you miss it, parcels will not be collected.
Automate it:
- If using Click & Drop directly, schedule a daily manifest via Settings → Manifesting → Automatic Manifesting and set the time to 30 minutes before your collection window
- If using the API, send a
POST /manifestsrequest programmatically — triggered either by a scheduled job (cron) or by a webhook from your order system when the last order of the day is despatched
curl -X POST https://api.clickanddrop.royalmail.com/v1/manifests \
  -H "Authorization: Bearer YOUR_API_KEY" \
  -H "Content-Type: application/json" \
  -d '{"includeAllOrders": true}'
A successful manifest response returns a manifest ID and a PDF you can download for your records.
Tracking and Customer Notifications
Once a manifest is submitted, Royal Mail activates tracking for each parcel. Tracking events are available via the Royal Mail Tracking API (separate from Click & Drop, requires a separate API key from the Royal Mail Developer Portal).
For most sellers, the simplest approach is to:
- Retrieve the tracking number from the Click & Drop label response
- Push that tracking number back to your sales channel via its API (eBay, Amazon, Shopify all support this)
- Let the channel send the tracking notification to the customer
If you want custom branded tracking emails, you need to build or use a notification service that intercepts the tracking number before it reaches the channel and sends your own email instead.
Common Integration Problems and How to Avoid Them
Labels printing at the wrong size. Royal Mail labels must be 100×150mm (6×4 inches). Most thermal printers (Zebra, Dymo 4XL, Rollo) default to this. Desktop inkjet printing requires configuring the page size manually in your PDF viewer.
Addresses failing validation. Royal Mail's API validates UK postcodes strictly. Ensure your order data normalises postcodes before submission — remove spaces, convert to uppercase. International addresses need a valid ISO country code, not a country name.
Missing weights. Click & Drop will reject orders without a package weight. If your product catalogue does not include weights, add them. An integration that auto-fills weight from product data saves significant manual correction work.
Service code mismatches. Using an incorrect service code (for example, submitting a 2kg parcel under a Large Letter service code) will cause Click & Drop to reject the order silently. Validate service codes against weight and size before submission.
What a Fully Automated Setup Looks Like
When the integration is working correctly, your daily fulfilment workflow becomes:
- Orders arrive from all channels overnight
- Your platform maps each order to a Royal Mail service and submits it to Click & Drop automatically
- Labels are printed in a batch — either via thermal printer or desktop — before you start packing
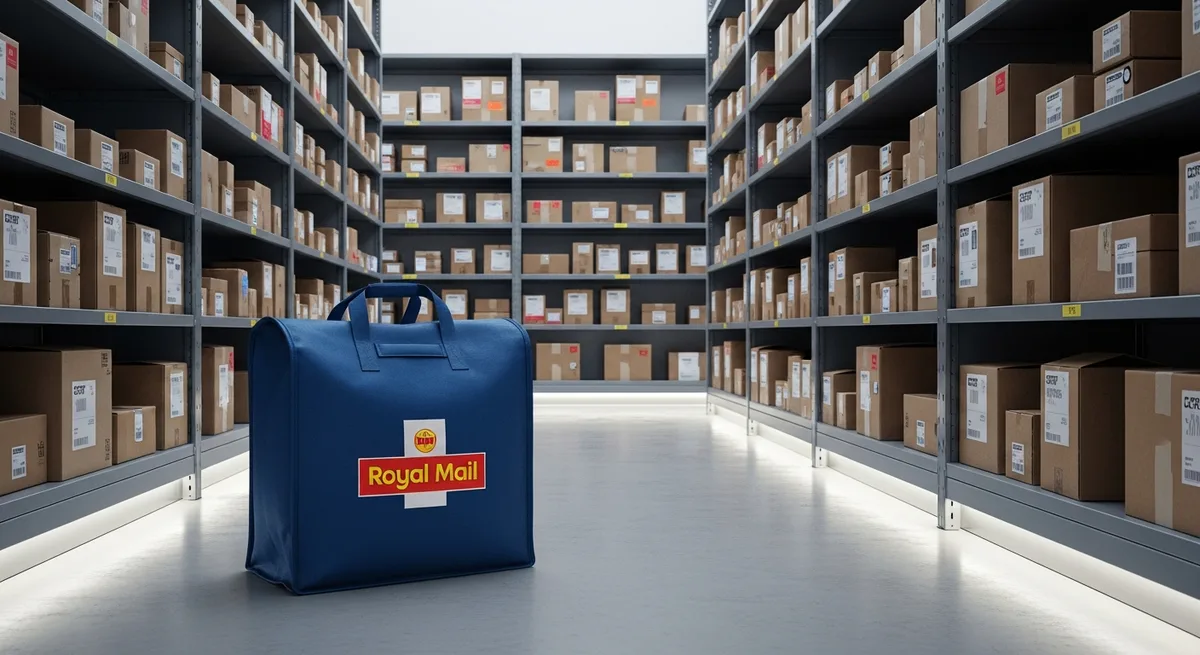
- Parcels are packed and placed in a collection bag
- Manifest is submitted automatically at your configured time
- Driver collects, tracking activates, customers receive notifications
No manual data entry. No forgotten manifests. No mismatch between what Royal Mail expects and what you send.
For sellers running multiple channels, the next step is making sure this process works the same way regardless of whether an order comes from eBay, Amazon, or Shopify. Read our guide on multi-channel printing workflows to see how to unify label generation across every channel you sell on.
Ready to simplify your multichannel operations?
Start your 14-day free trial with Adlixor Presence — no credit card required.